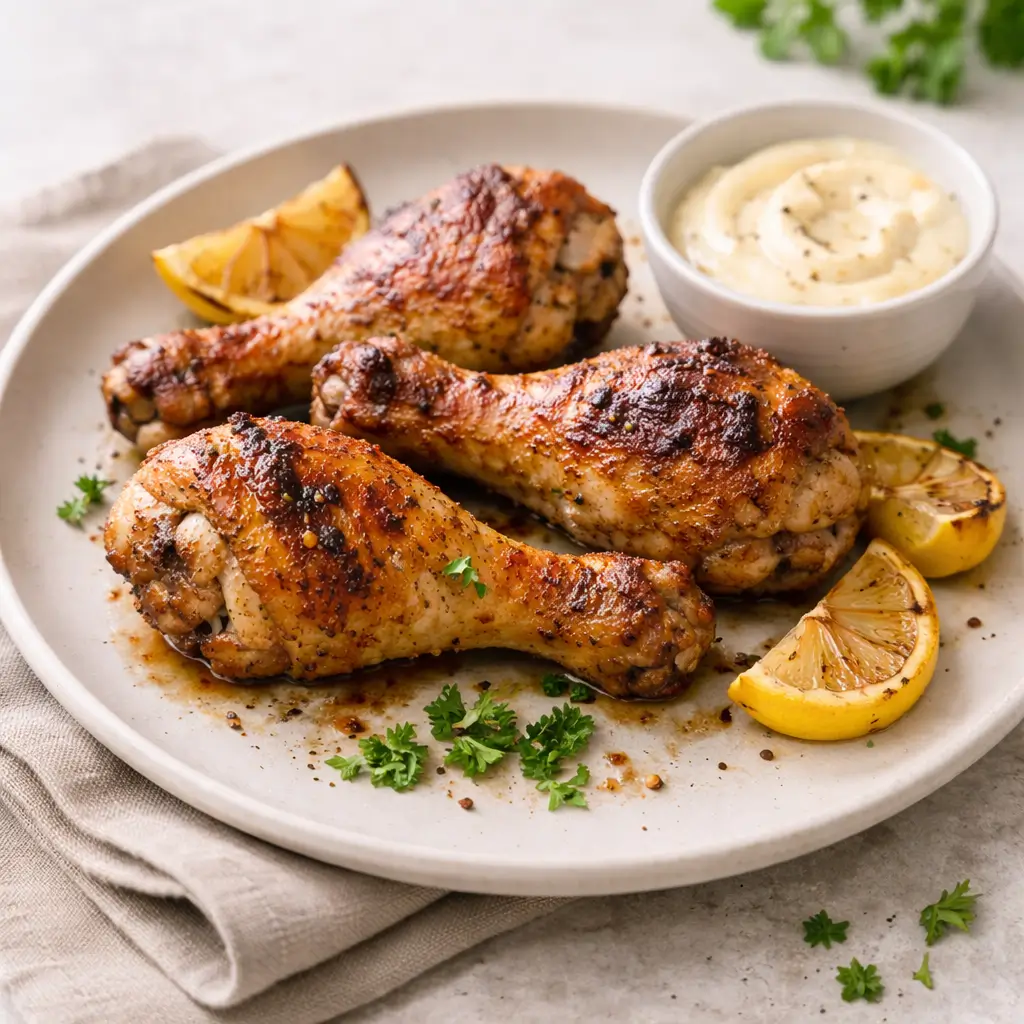
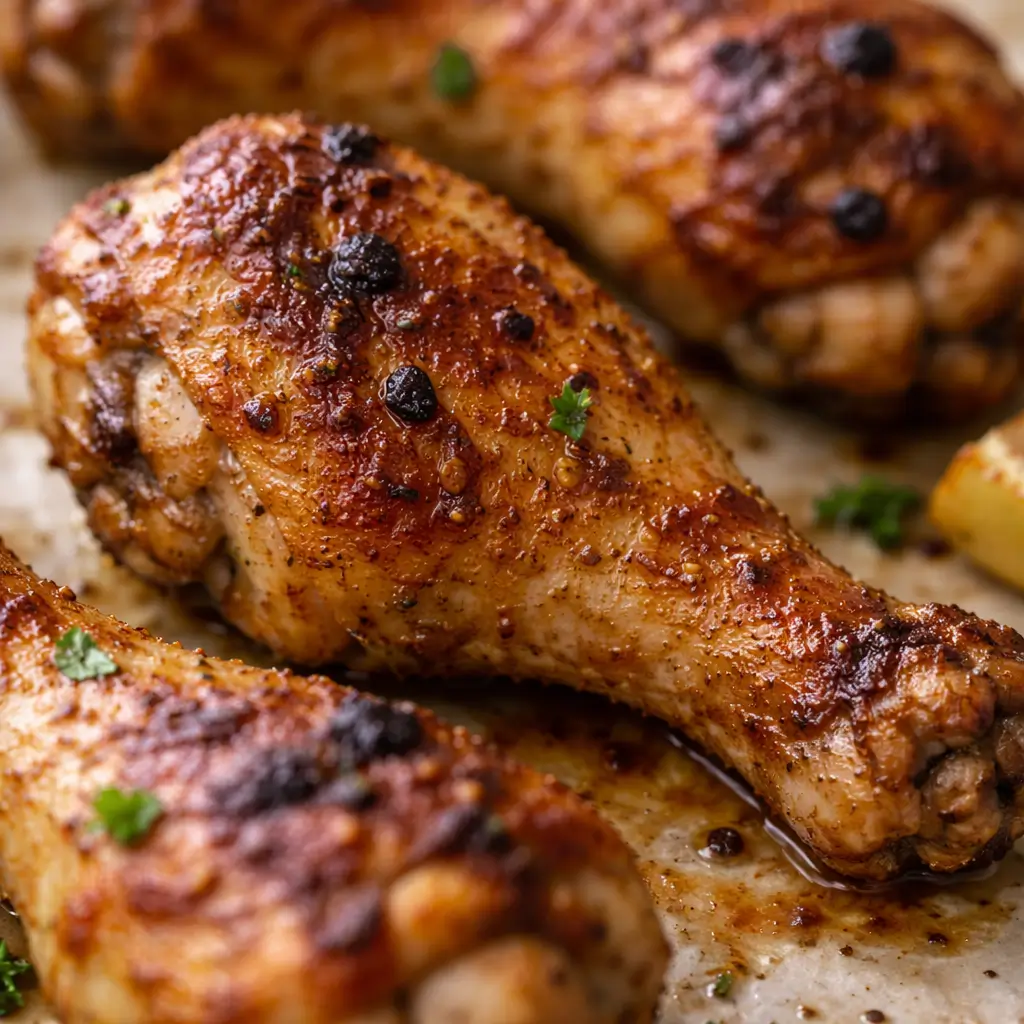
Crispy Baked Chicken Drumsticks are the perfect combination of simplicity, flavor, and texture. They deliver the crunch of fried chicken without deep frying. Moreover, they require minimal ingredients and very little preparation time. Therefore, they are ideal for busy weeknights, family dinners, or casual gatherings.
This recipe uses high heat, balanced seasoning, and proper spacing to achieve irresistibly crispy skin. At the same time, the meat stays juicy and tender inside. As a result, you get a healthier alternative to traditional fried chicken without sacrificing taste.
Why You Will Love This Recipe
First, this recipe is extremely easy to prepare. You only need basic pantry spices and fresh chicken.
Second, it is oven-baked, not fried. Therefore, it is lighter and less messy.
Third, it delivers reliable results every time. The method is simple yet effective.
Finally, it is versatile. You can adjust spices to suit any flavor preference.
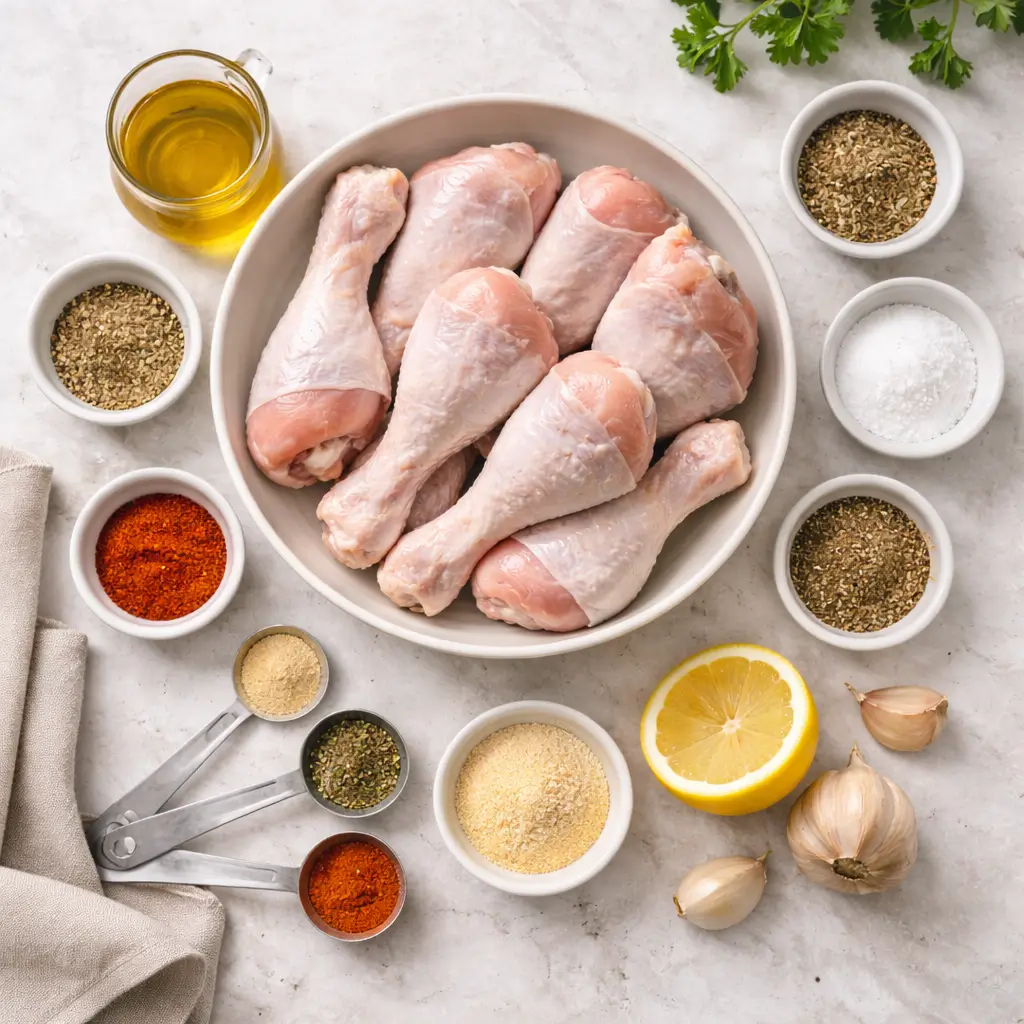
Ingredients You Will Need
The ingredients are straightforward. However, each one plays an important role in building flavor and texture.
Main Ingredients
- 8 chicken drumsticks (skin-on)
- 2 tablespoons olive oil
- 1 teaspoon salt
- 1 teaspoon black pepper
- 1 teaspoon paprika
- 1 teaspoon garlic powder
- 1 teaspoon onion powder
- ½ teaspoon dried thyme (optional)
- ½ teaspoon baking powder (key for crispiness)
Why Baking Powder Matters
Baking powder may seem unusual. However, it is essential for achieving crispy skin.
It works by:
- Drawing moisture out of the skin
- Increasing surface browning
- Creating a dry environment for roasting
- Helping the skin become crackly and golden
Make sure you use aluminum-free baking powder to avoid any metallic taste.
Equipment Needed
You do not need special tools. However, a few items improve results significantly.
- Baking sheet
- Parchment paper or wire rack
- Mixing bowl
- Tongs
- Paper towels
A wire rack is highly recommended. It allows air to circulate around the chicken. Consequently, the skin crisps evenly.
Preparation Tips Before You Start
Good preparation ensures perfect texture.
1. Dry the Chicken Thoroughly
Moisture is the enemy of crispiness. Therefore, pat each drumstick dry with paper towels.
2. Let the Chicken Sit at Room Temperature
Allow the chicken to rest for 15 minutes before baking. This helps it cook evenly.
3. Do Not Skip the Oil
Oil helps conduct heat and promotes browning. Additionally, it helps the seasoning adhere.
Step-by-Step Instructions
Follow these steps carefully for the best results.
Step 1 — Preheat the Oven
Preheat your oven to 425°F (220°C).
High heat is essential for crispy skin.
Line a baking sheet with parchment paper or place a wire rack on top.
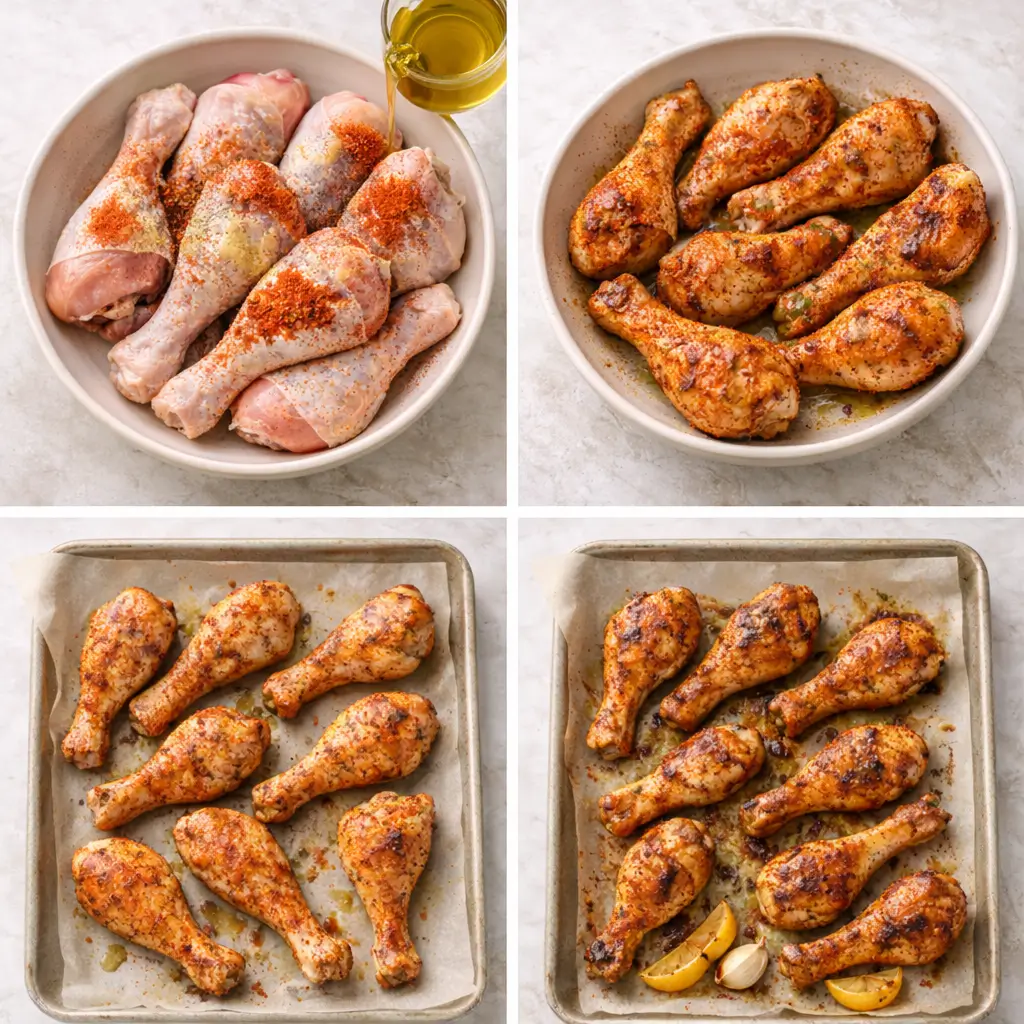
Step 2 — Season the Chicken
In a large bowl, combine:
- Salt
- Pepper
- Paprika
- Garlic powder
- Onion powder
- Thyme
- Baking powder
Add olive oil and mix to form a light coating mixture.
Add drumsticks and toss until evenly coated.
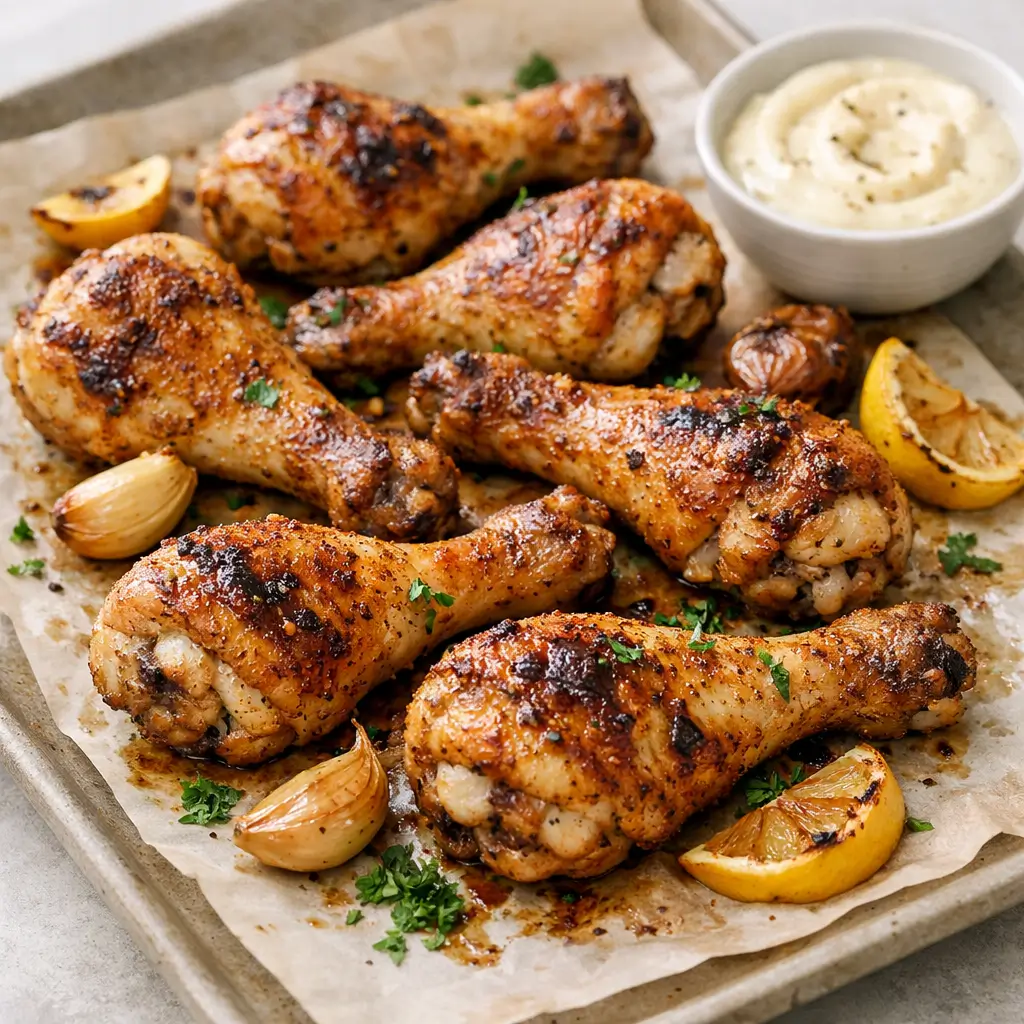
Step 3 — Arrange for Proper Roasting
Place drumsticks on the rack or baking sheet.
Important:
Do not overcrowd the pan.
Leave space between each piece.
Air circulation allows crisping instead of steaming.
Step 4 — Bake Until Crispy
Bake for 35–45 minutes.
Halfway through cooking, rotate the tray for even browning.
The chicken is done when:
- Skin is golden and crisp
- Internal temperature reaches 165°F (74°C)
How to Get Extra Crispy Skin
If you want restaurant-level crispiness, follow these additional tips.
- Use a wire rack whenever possible
- Avoid flipping the chicken
- Bake at high temperature only
- Ensure skin is completely dry before seasoning
- Do not cover the chicken during cooking
These small adjustments create a major difference.
Flavor Variations
One of the best aspects of this recipe is its adaptability.
Smoky BBQ Style
Add:
- 1 teaspoon smoked paprika
- ½ teaspoon chili powder
- Brush with BBQ sauce during final 5 minutes
Garlic Herb Version
Add:
- Fresh rosemary
- Minced garlic
- Lemon zest
This creates a lighter, aromatic profile.
Spicy Version
Add:
- Cayenne pepper
- Crushed red pepper flakes
- Hot sauce drizzle before serving
Mediterranean Style
Add:
- Oregano
- Lemon juice
- Olive oil finish after baking
What to Serve With Chicken Drumsticks
These drumsticks pair well with many sides. Therefore, you can build a complete meal easily.
Classic Comfort Sides
- Mashed potatoes
- Roasted vegetables
- Mac and cheese
- Coleslaw
Lighter Options
- Fresh salad
- Steamed broccoli
- Quinoa
- Cucumber yogurt sauce
Family-Friendly Pairings
- French fries
- Corn on the cob
- Rice pilaf
- Garlic bread
How to Store Leftovers
Proper storage keeps the chicken flavorful and safe.
Refrigeration
Store in an airtight container for up to 4 days.
Freezing
Freeze cooked drumsticks for up to 3 months.
Wrap individually for best texture retention.
How to Reheat Without Losing Crispiness
Avoid microwaving if possible. It softens the skin.
Instead:
Reheat in oven at 375°F (190°C) for 10–15 minutes.
This restores the crispy texture.
Common Mistakes to Avoid
Even simple recipes can fail if key steps are skipped.
Mistake 1 — Not Drying the Chicken
Wet skin cannot crisp.
Mistake 2 — Baking at Low Temperature
Low heat causes rubbery skin.
Mistake 3 — Overcrowding the Pan
Crowding leads to steaming instead of roasting.
Mistake 4 — Skipping Baking Powder
This reduces the signature crunch.
Nutritional Benefits of Oven-Baked Chicken
Baking instead of frying offers several advantages.
- Lower fat content
- Fewer calories
- No heavy frying oils
- High protein content
- Naturally gluten-free
Therefore, this recipe fits well into balanced diets.
Meal Prep Friendly
These drumsticks are excellent for meal planning.
You can:
- Cook a large batch
- Store portions individually
- Pair with different sides each day
This saves time during busy weeks.
Kid-Friendly and Crowd-Pleasing
Children love the crispy texture. Adults enjoy the bold flavor.
Additionally, drumsticks are easy to handle and portion.
This makes them ideal for:
- Family dinners
- Game nights
- Casual parties
- Potlucks
How This Recipe Compares to Fried Chicken
Many people assume fried chicken is superior. However, oven baking can produce equally satisfying results.
| Feature | Fried Chicken | Baked Drumsticks |
|---|---|---|
| Crispiness | High | High |
| Oil Usage | Very High | Minimal |
| Cleanup | Messy | Easy |
| Health Value | Lower | Better |
| Convenience | Moderate | Very Easy |
Thus, baked drumsticks offer both convenience and balance.
Frequently Asked Questions
Can I Use Chicken Thighs Instead?
Yes. Adjust cooking time to about 40–50 minutes.
Do I Need to Flip the Chicken?
No. Leaving it undisturbed allows better crust formation.
Can I Make This Recipe Ahead?
Yes. Season the chicken and refrigerate up to 24 hours before baking.
Why Is My Chicken Not Crispy?
Most likely causes:
- Too much moisture
- Low oven temperature
- Overcrowded pan
Can I Use Skinless Drumsticks?
You can. However, you will lose the signature crispiness.
Expert Tips for Perfect Results Every Time
Professional kitchens follow a few consistent principles.
- Always start with dry protein
- Use high heat for roasting
- Allow airflow around food
- Season generously
- Let cooked meat rest briefly before serving
These principles apply far beyond this recipe.
Final Thoughts
Crispy Baked Chicken Drumsticks prove that simple cooking techniques can deliver outstanding results. With just a few ingredients and the right method, you can create a dish that rivals restaurant-quality fried chicken.
Moreover, this recipe is adaptable, economical, and approachable for cooks of all levels. Whether you prepare it for a quick dinner or a weekend gathering, it consistently delivers flavor, texture, and satisfaction.
Once you master this technique, it will become a reliable staple in your kitchen.