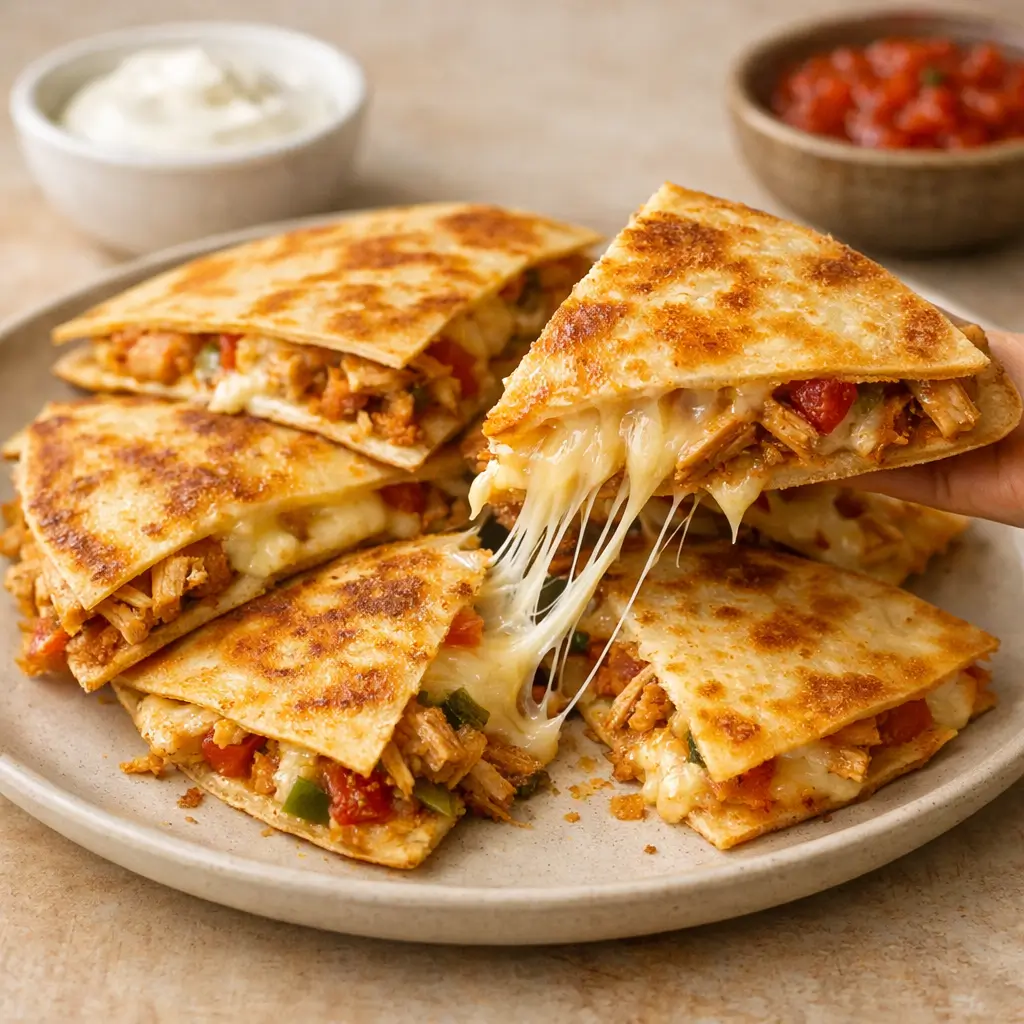
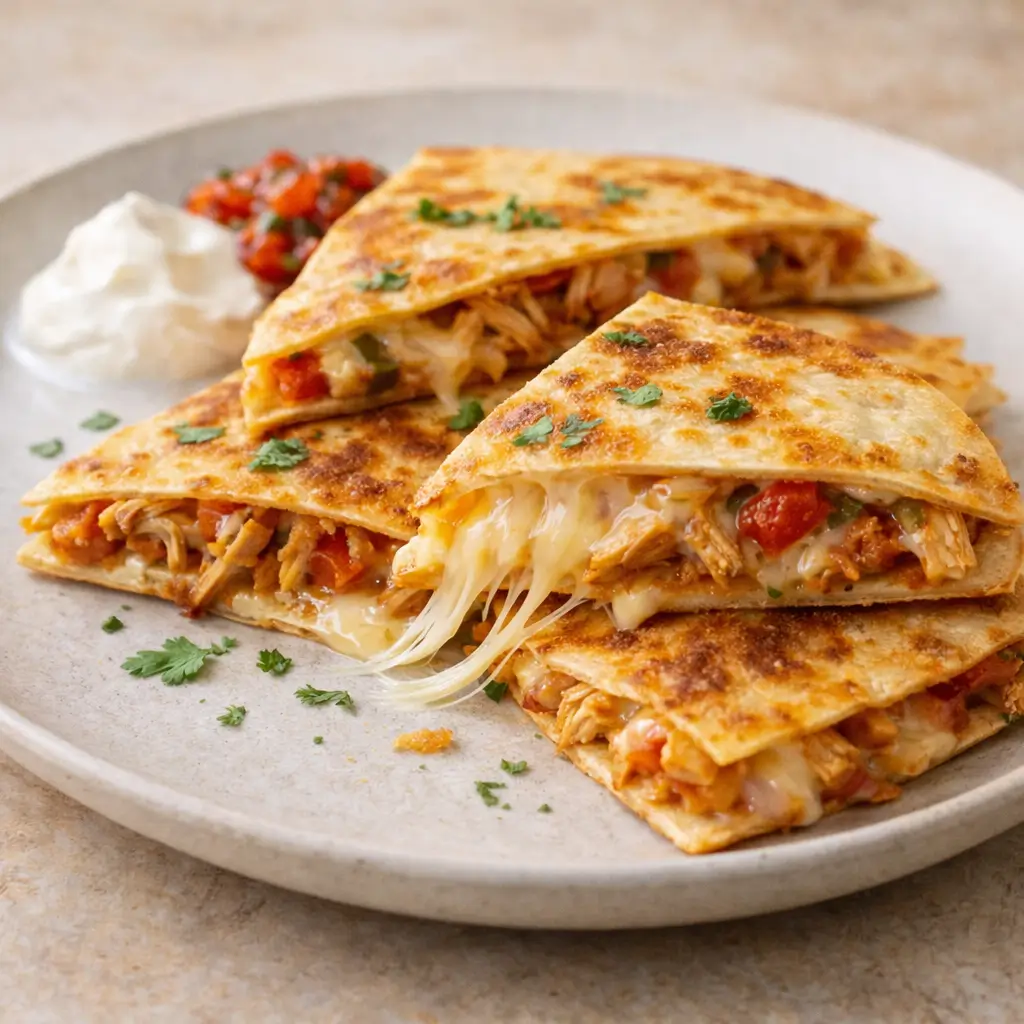
Cheesy Chicken Quesadillas are the ultimate combination of crispy golden tortillas, juicy seasoned chicken, and perfectly melted cheese. This recipe delivers restaurant-quality flavor with simple ingredients and minimal effort. Whether you need a comforting weeknight dinner, a satisfying lunch, or a crowd-pleasing meal, this dish never disappoints.
In this complete guide, you will learn everything about making perfect Cheesy Chicken Quesadillas at home. We will cover ingredients, exact quantities, step-by-step instructions, cooking tips, variations, storage methods, and pro techniques to achieve that irresistible cheese pull and crispy texture every time.
Why You’ll Love These Cheesy Chicken Quesadillas
First, they are incredibly simple.
Second, they cook quickly.
Moreover, they require basic pantry ingredients.
Most importantly, they taste amazing.
Here is what makes this recipe special:
- Golden crispy tortilla edges
- Juicy, flavorful chicken filling
- Stretchy, melted cheese in every bite
- Balanced seasoning without overpowering spice
- Customizable to your taste
Furthermore, they are budget-friendly. You can prepare a full dinner using affordable ingredients.
What Is a Quesadilla?
A quesadilla is a traditional Mexican dish consisting of a tortilla filled with cheese and often additional ingredients such as meat or vegetables. The tortilla is folded or layered and cooked until crispy while the cheese melts inside.
Although authentic versions may vary, this Cheesy Chicken Quesadillas recipe focuses on:
- Flour tortillas for flexibility and crisp texture
- Shredded chicken for tenderness
- Melting cheeses for stretch and richness
The result is a comforting, satisfying meal.
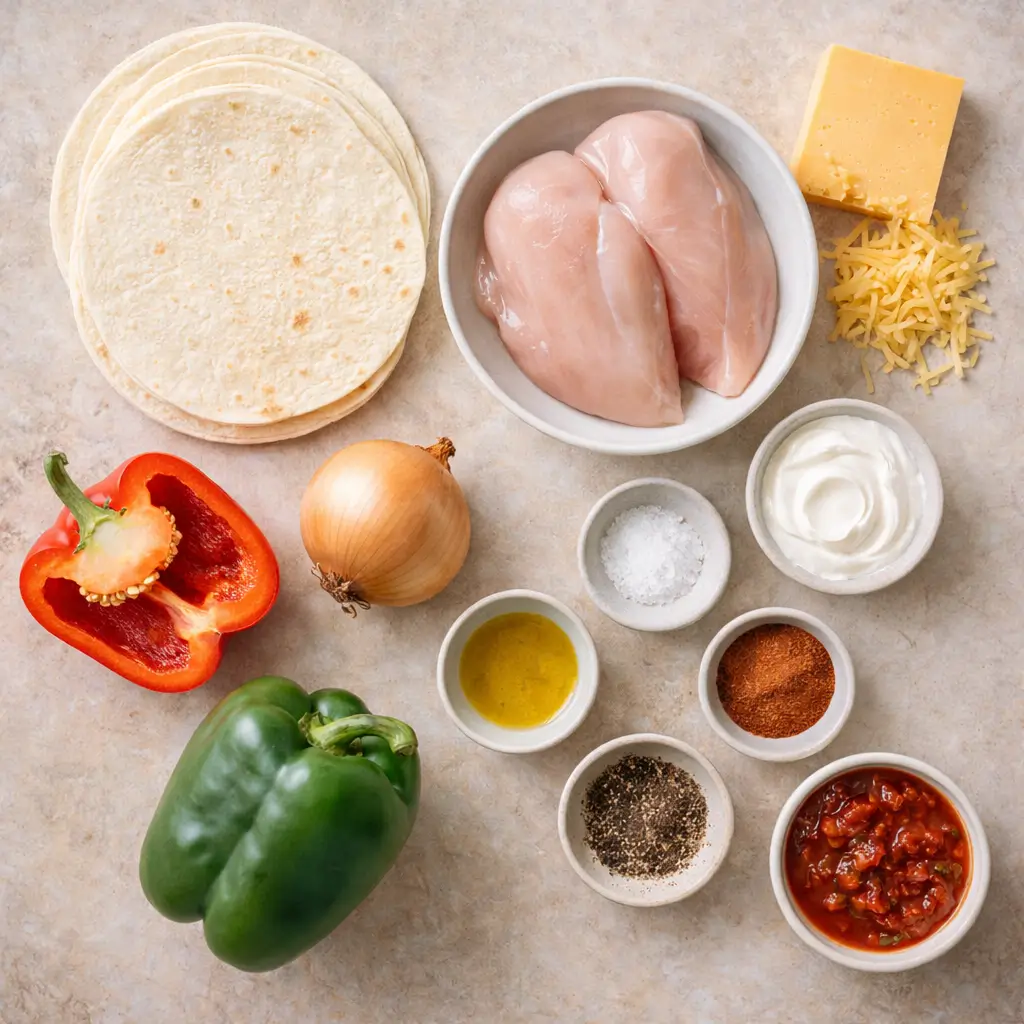
Ingredients for Cheesy Chicken Quesadillas
Let us break down each ingredient carefully. Quality matters here.
Main Ingredients
- 4 large flour tortillas
- 2 cups cooked shredded chicken (about 2 medium chicken breasts)
- 2 cups shredded cheese (cheddar, Monterey Jack, or a blend)
- 1 tablespoon olive oil (for cooking)
Seasoning Blend
- 1 teaspoon paprika
- 1 teaspoon garlic powder
- ½ teaspoon onion powder
- ½ teaspoon ground cumin
- ½ teaspoon salt
- ¼ teaspoon black pepper
Optional Add-Ins
- ½ cup diced bell peppers
- ¼ cup finely chopped onion
- ¼ teaspoon chili powder for heat
- Fresh cilantro for garnish
For Serving
- Sour cream
- Salsa
- Guacamole
Choosing the Best Cheese
The cheese determines the melt quality. Therefore, choose carefully.
Best Options
- Monterey Jack – excellent melt and stretch
- Cheddar – bold flavor and color
- Mozzarella – maximum cheese pull
- Mexican cheese blend – balanced flavor
Avoid pre-shredded cheese if possible. It contains anti-caking agents that reduce melt quality. Instead, shred a block of cheese for better texture.
Choosing the Right Chicken
You have several options:
1. Freshly Cooked Chicken Breast
Season and cook chicken in a skillet. Then shred.
2. Rotisserie Chicken
Fast and convenient. Remove skin and shred.
3. Leftover Grilled Chicken
Adds smoky depth.
Regardless of method, ensure the chicken is moist. Dry chicken results in dry quesadillas.
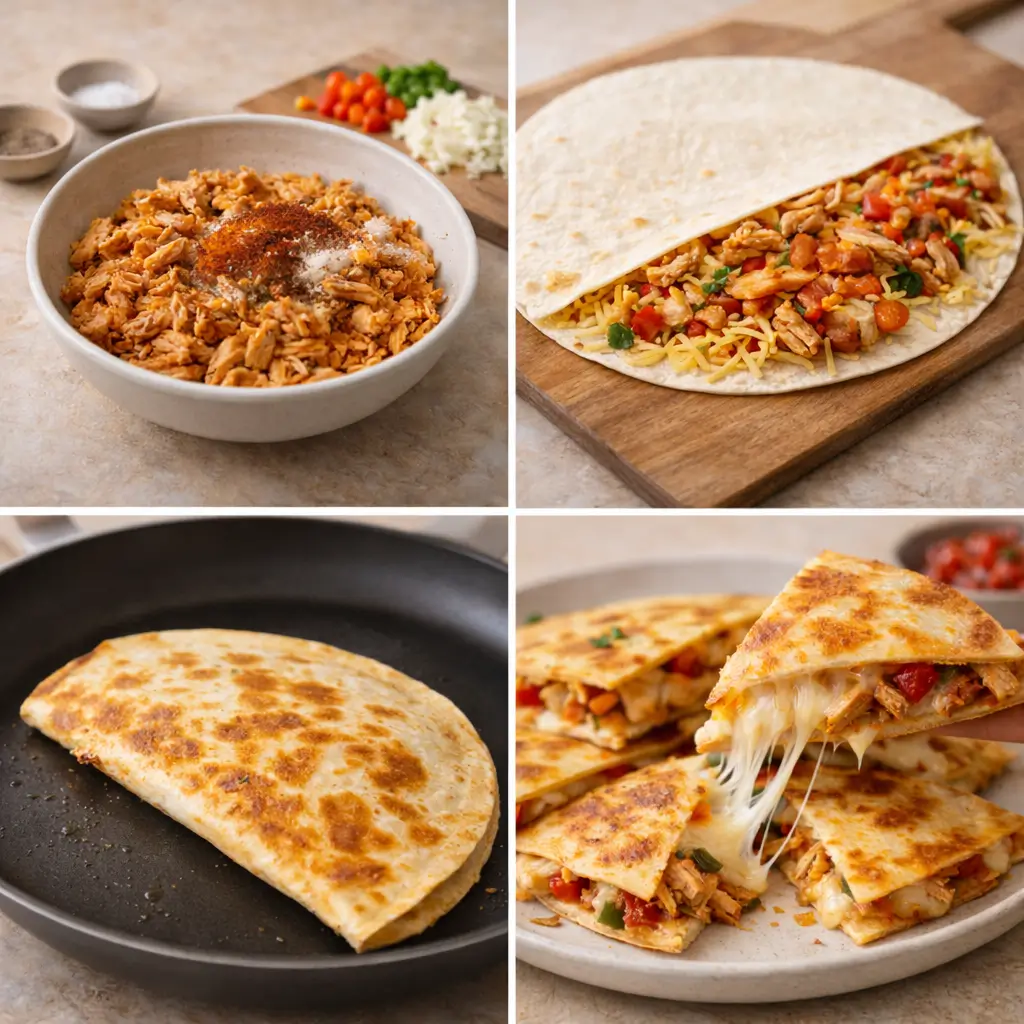
Step-by-Step Instructions for Perfect Cheesy Chicken Quesadillas
Follow this method carefully.
Step 1: Prepare the Chicken Filling
If starting with raw chicken:
- Season chicken breasts with salt, pepper, and paprika.
- Cook in a skillet over medium heat for 6–7 minutes per side.
- Allow to rest for 5 minutes.
- Shred using two forks.
Then combine shredded chicken with:
- Paprika
- Garlic powder
- Onion powder
- Cumin
- Salt and pepper
Mix well to distribute seasoning evenly.
Step 2: Preheat the Skillet
Heat a large skillet over medium heat.
Add a small amount of olive oil.
Do not overheat. Excess heat burns tortillas before cheese melts.
Step 3: Assemble the Quesadilla
Place one tortilla flat on a clean surface.
Layer in this order:
- Thin layer of shredded cheese
- Seasoned chicken evenly distributed
- Optional diced vegetables
- Final layer of cheese
Fold tortilla in half.
The cheese on both layers helps bind everything together.
Step 4: Cook Until Golden
Transfer folded tortilla to skillet.
Cook 2–3 minutes per side.
Press gently with a spatula.
Flip carefully when golden brown.
Look for:
- Crispy blistered spots
- Even golden color
- Melted interior
Step 5: Rest and Slice
Remove from heat.
Let rest for 1–2 minutes.
This prevents cheese from spilling excessively.
Slice into triangles using a sharp knife.
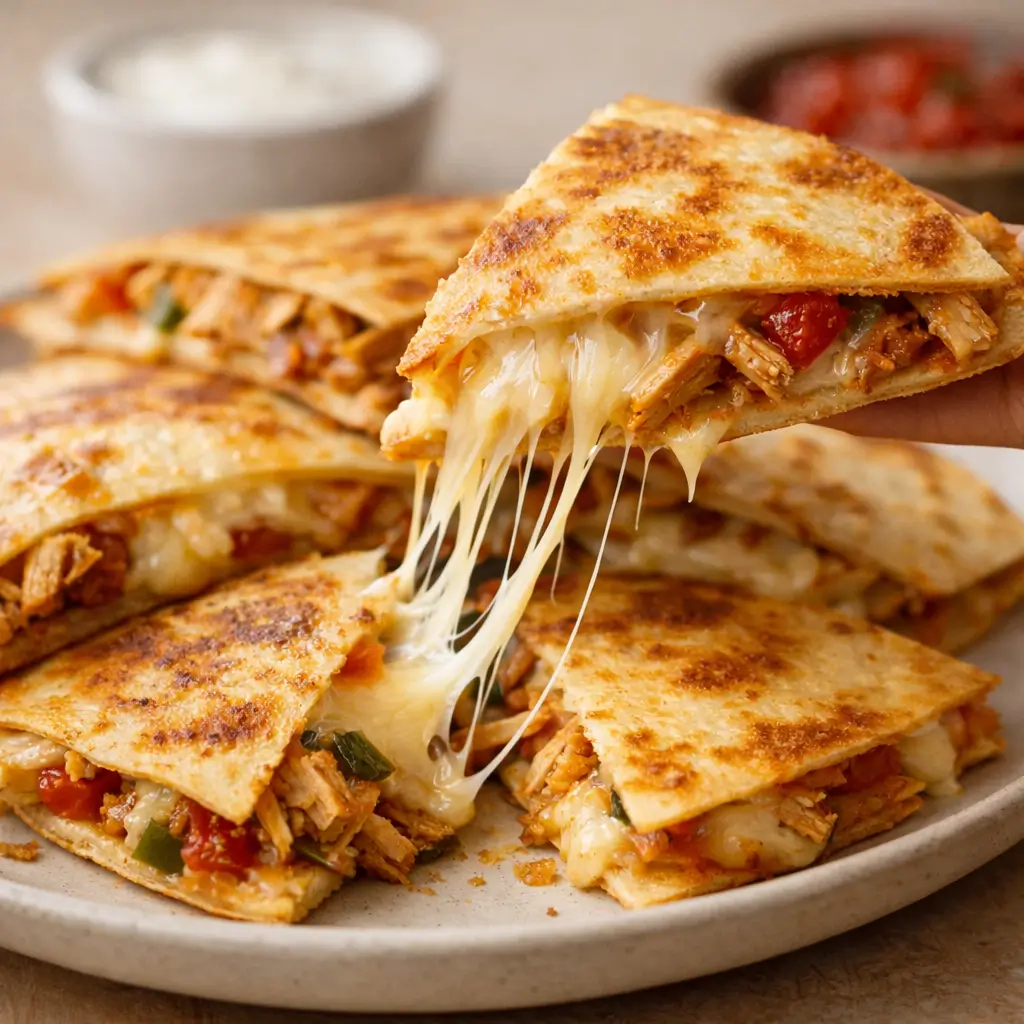
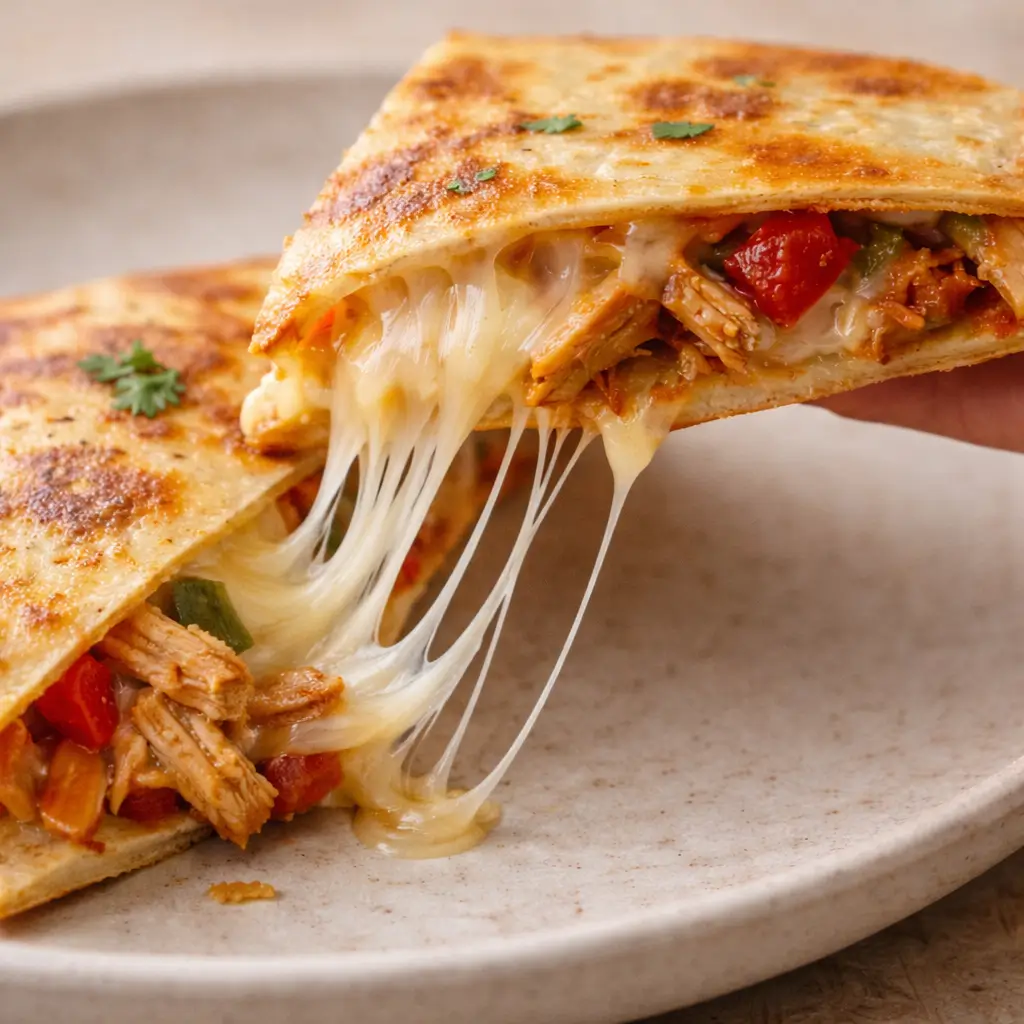
How to Achieve the Perfect Cheese Pull
Everyone loves a dramatic cheese stretch. However, technique matters.
Tips for Maximum Melt
- Use freshly shredded cheese
- Combine cheddar and mozzarella
- Do not cook at high heat
- Cover skillet briefly to trap heat
Furthermore, allow cheese to fully melt before flipping.
Exact Ingredient Quantities for Different Servings
For 2 Servings
- 2 tortillas
- 1 cup chicken
- 1 cup cheese
- ½ tablespoon olive oil
For 4 Servings (Standard Recipe)
- 4 tortillas
- 2 cups chicken
- 2 cups cheese
- 1 tablespoon olive oil
For 6 Servings
- 6 tortillas
- 3 cups chicken
- 3 cups cheese
- 1½ tablespoons olive oil
Nutrition Information (Approximate per Serving)
- Calories: 450–500
- Protein: 30g
- Carbohydrates: 35g
- Fat: 25g
- Fiber: 2g
Values vary depending on cheese and portion size.
Common Mistakes to Avoid
Even simple recipes require attention.
1. Overfilling
Too much filling causes tearing.
2. High Heat
Burned outside, unmelted inside.
3. Skipping Rest Time
Cheese spills excessively when sliced immediately.
4. Using Dry Chicken
Moisture equals flavor.
Delicious Variations of Cheesy Chicken Quesadillas
Variety keeps meals exciting.
Spicy Jalapeño Version
Add:
- Fresh sliced jalapeños
- Pepper Jack cheese
- Extra chili powder
BBQ Chicken Quesadillas
Mix chicken with:
- 2 tablespoons BBQ sauce
- Red onion
- Cheddar cheese
Veggie-Loaded Version
Add sautéed:
- Mushrooms
- Zucchini
- Spinach
Low-Carb Option
Use low-carb tortillas or high-protein wraps.
Oven-Baked Version
Preheat oven to 400°F (200°C).
Place assembled quesadillas on baking sheet.
Bake 8–10 minutes until golden.
Flip halfway for even crisping.
This method works well for large batches.
What to Serve with Cheesy Chicken Quesadillas
Complete the meal with:
- Mexican rice
- Fresh corn salad
- Black beans
- Pico de gallo
- Creamy avocado dip
Balanced sides enhance flavor without overwhelming.
Storage and Reheating Instructions
Storage
Allow to cool completely.
Store in airtight container.
Refrigerate up to 3 days.
Reheating
Skillet Method (Best)
Reheat over medium heat 2–3 minutes per side.
Oven Method
350°F for 8–10 minutes.
Avoid microwave if possible. It softens crisp texture.
Freezing Instructions
Yes, you can freeze them.
- Assemble and cook fully.
- Cool completely.
- Wrap individually in plastic wrap.
- Store in freezer-safe bag.
Freeze up to 2 months.
Reheat from frozen in oven at 375°F for 15–18 minutes.
Expert Tips for Restaurant-Quality Results
Professional kitchens follow these techniques:
- Use cast-iron skillet for even browning
- Shred cheese freshly
- Distribute filling evenly
- Maintain medium heat consistently
- Wipe skillet between batches
Consistency produces the best results.
Frequently Asked Questions
Can I use corn tortillas?
Yes, but they are smaller and more delicate. Use two tortillas stacked instead of folding.
Can I make them ahead of time?
Yes. Assemble and refrigerate. Cook just before serving.
Can I use pre-cooked chicken?
Absolutely. Rotisserie chicken works well.
Why is my quesadilla soggy?
Excess oil or too much filling causes sogginess.
Why This Recipe Works
This Cheesy Chicken Quesadillas recipe balances three critical elements:
- Texture
- Flavor
- Melt quality
The tortilla crisps properly because heat remains moderate.
The cheese melts evenly because layering is strategic.
The chicken remains juicy due to seasoning and proper cooking.
Each component supports the other.
Final Thoughts
Cheesy Chicken Quesadillas combine simplicity and comfort in one irresistible dish. They are crispy on the outside and loaded with flavorful melted cheese and tender chicken inside. Moreover, they are flexible enough to adapt to your preferences.
Whether you prepare them for family dinner or a quick lunch, this recipe guarantees satisfaction. The golden edges, rich filling, and dramatic cheese pull make every bite memorable.
Once you master the technique, you can experiment with endless variations. However, this classic version remains timeless.
Now it is your turn.
Heat the skillet.
Layer the cheese.
Create that perfect golden crisp.
Enjoy every delicious bite.