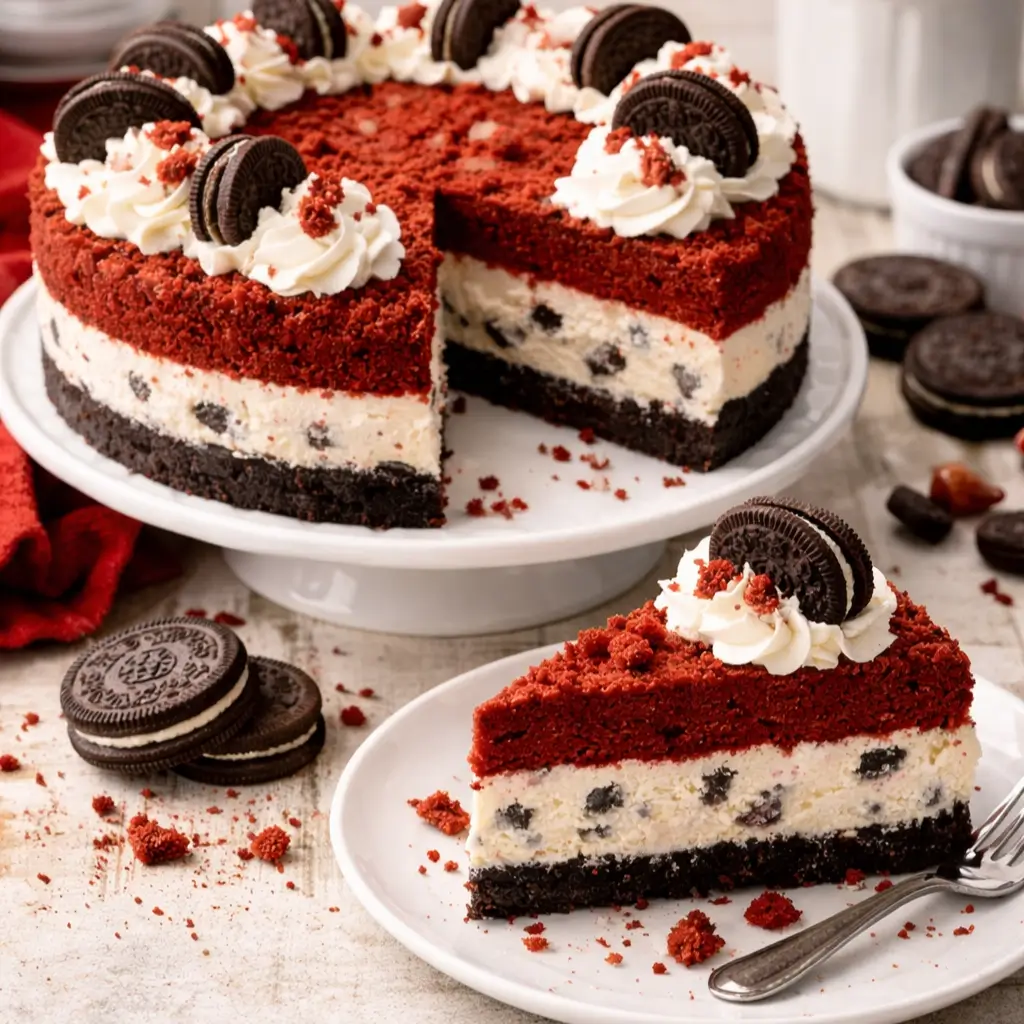
There are desserts that feel festive, and then there are desserts that stop conversations. This Red-Velvet-Oreo-Cheesecake belongs in the second category. With its striking crimson top layer, creamy Oreo-studded cheesecake center, and deep chocolate cookie crust, this cake is built to impress before the first bite even happens.
Looking at the image, you immediately see why this recipe has become a viral Pinterest favorite. The bold red velvet layer contrasts perfectly with the snowy white cheesecake. Each swirl of whipped cream is crowned with a full Oreo, while ruby crumbs sprinkle the surface like edible confetti. It is elegant. It is indulgent. And above all, it is unforgettable.
In this guide, you will learn exactly how to recreate this show-stopping dessert in your own kitchen, from crust to final garnish.
Why This Red-Velvet-Oreo-Cheesecake Is Special
This is not just another cheesecake.
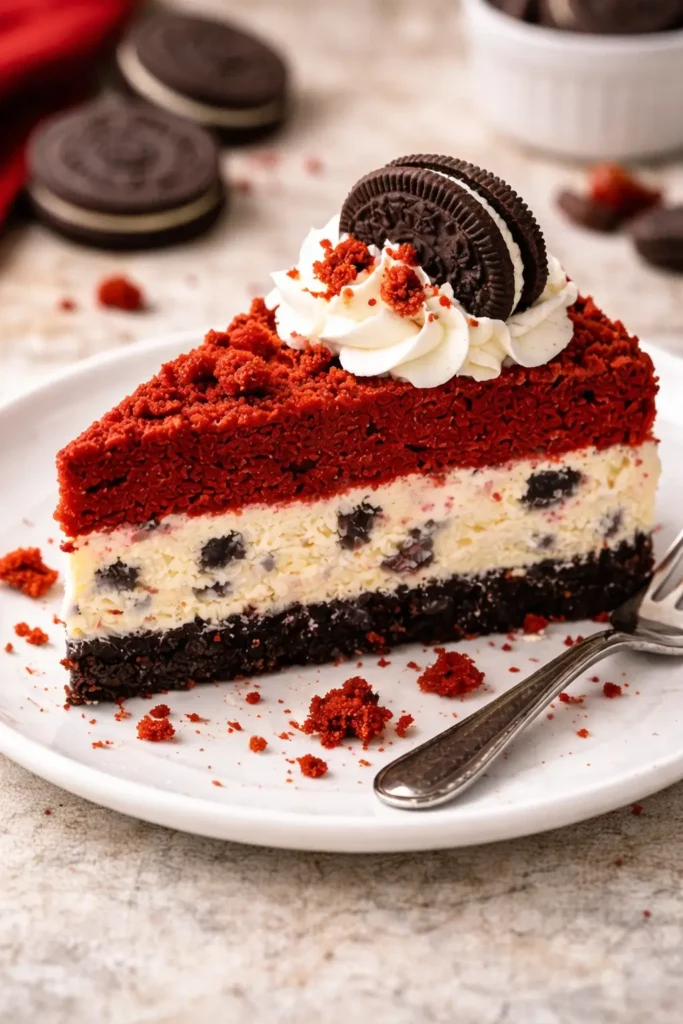
This cake has three fully distinct layers, each with its own personality.
• A crunchy Oreo cookie crust with butter-rich depth.
• A silky vanilla cheesecake packed with crushed Oreos.
• A tender, moist red velvet cake topping that melts into the cheesecake below.
Instead of baking a red velvet cake separately and stacking it later, we build the cake as one harmonious dessert. The flavors meld naturally during baking and chilling. As a result, every slice is perfectly balanced.
Ingredient Breakdown
Each layer requires care. Therefore, we will separate ingredients clearly.
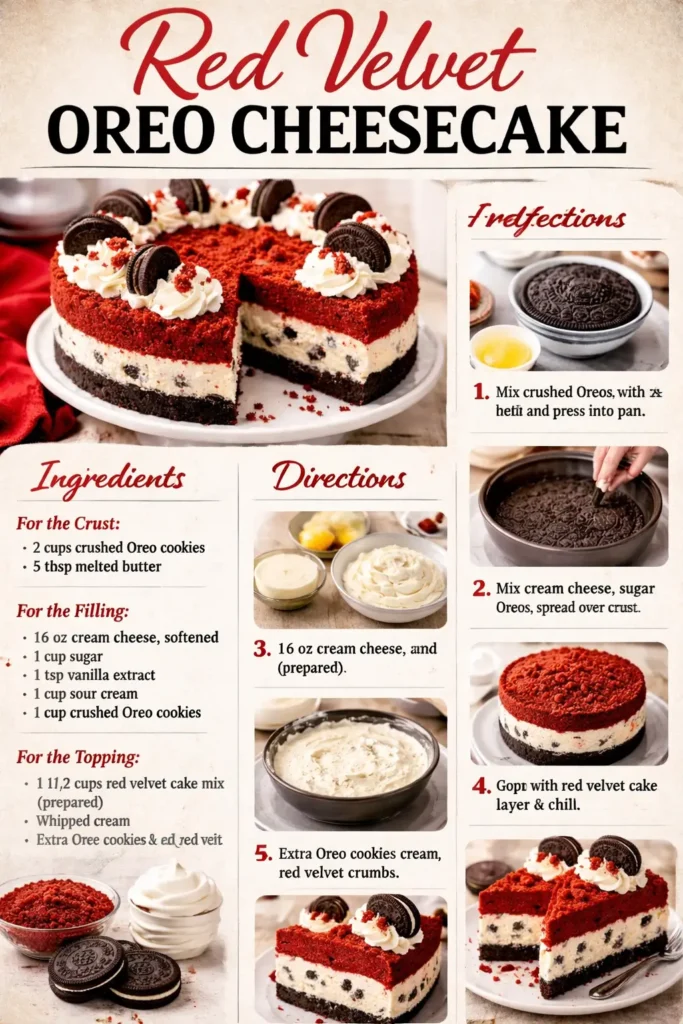
Oreo Cookie Crust
- 28 Oreo cookies
- 6 tablespoons unsalted butter, melted
Oreo Cheesecake Layer
- 24 oz cream cheese, room temperature
- 1 cup granulated sugar
- ¾ cup sour cream
- 2 teaspoons vanilla extract
- 3 large eggs, room temperature
- 1 ½ cups crushed Oreo cookies
Red Velvet Cake Layer
- 1 ½ cups all-purpose flour
- ¾ cup granulated sugar
- 1 tablespoon cocoa powder
- 1 teaspoon baking powder
- ½ teaspoon baking soda
- ½ teaspoon salt
- ¾ cup vegetable oil
- ¾ cup buttermilk
- 1 teaspoon vanilla extract
- 1 tablespoon white vinegar
- 2 large eggs
- 2 tablespoons red food coloring
Whipped Cream Garnish
- 1 ½ cups heavy cream
- ⅓ cup powdered sugar
- 1 teaspoon vanilla extract
- Whole Oreo cookies for topping
- Red velvet crumbs for decoration
Tools You Will Need
- 9-inch springform pan
- Food processor
- Electric mixer
- Large mixing bowls
- Rubber spatula
- Baking pan for water bath
- Piping bag with star tip
Step-By-Step Instructions
Let us build this masterpiece layer by layer.
Step 1 – Prepare the Oreo Crust
Place Oreo cookies into a food processor. Pulse until you get fine crumbs. Then pour melted butter over crumbs and mix until the texture resembles wet sand.
Press mixture firmly into the bottom of your lined springform pan.
Use the bottom of a glass to compact evenly.
Bake crust at 350°F (180°C) for 10 minutes.
Then remove and let cool completely.
Step 2 – Make the Oreo Cheesecake Filling
Beat cream cheese and sugar until smooth.
Add sour cream and vanilla. Mix gently.
Add eggs one at a time. Mix slowly.
Do not overbeat.
Fold in crushed Oreos.
Pour cheesecake mixture over cooled crust.
Smooth the top.
Step 3 – Prepare the Red Velvet Cake Batter
In a bowl, whisk flour, cocoa, baking powder, baking soda, and salt.
In another bowl, combine sugar, oil, buttermilk, eggs, vanilla, vinegar, and food coloring.
Slowly add dry ingredients to wet ingredients.
Mix until smooth but avoid over-mixing.
Gently pour red velvet batter over cheesecake layer.
Step 4 – Bake in a Water Bath
Wrap springform pan in foil.
Place pan into a larger baking dish.
Pour hot water halfway up sides.
Bake at 325°F (160°C) for 75 minutes.
The center should jiggle slightly.
Turn oven off and leave door cracked for 1 hour.
Then remove cake and chill overnight.
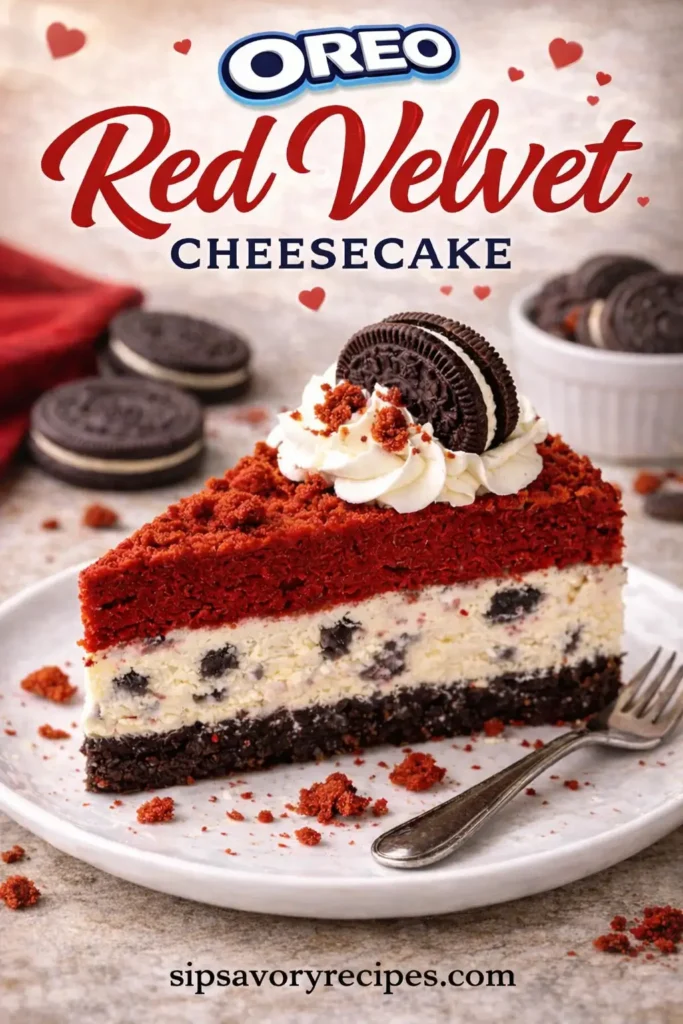
Step 5 – Decorate Like the Image
Whip heavy cream with powdered sugar and vanilla until stiff peaks form.
Pipe rosettes around cake edge.
Place whole Oreos between whipped cream swirls.
Sprinkle red velvet crumbs over top.
How To Slice Perfectly
Use a long knife.
Dip blade in hot water.
Wipe clean after every slice.
This preserves clean, dramatic layers.
Flavor Profile Explained
This cake is built around contrast.
The Oreo crust delivers crunch.
The cheesecake is rich yet airy.
The red velvet layer adds cocoa depth and visual drama.
Together, they form a dessert that tastes as luxurious as it looks.
Storage Tips
Refrigerate in airtight container.
Lasts up to 5 days.
For freezing, wrap slices tightly.
Freeze up to 2 months.
Variations
Chocolate Ganache Drip
Melt ½ cup chocolate with ¼ cup cream.
Drizzle over chilled cake.
Mini Cheesecakes
Use muffin tins.
Bake 30 minutes only.
White Chocolate Oreo
Fold in white chocolate chips.
Troubleshooting
Cracked cheesecake?
Water bath was too hot or baking too long.
Soggy crust?
Foil seal was not tight.
Red velvet sinking?
Cheesecake was too warm before pouring batter.
Frequently Asked Questions
Can I skip the water bath?
No. Texture will suffer.
Can I use boxed red velvet mix?
Yes, but flavor will be lighter.
How many servings?
12 generous slices.
Why Pinterest Loves This Cake
This dessert photographs beautifully.
Bold colors stop the scroll.
Layered slices invite curiosity.
It feels luxury but approachable.
That is why this Red-Velvet-Oreo-Cheesecake thrives on Pinterest feeds during winter holidays and Valentine season.
Final Thoughts
This cake is not just a recipe.
It is a statement dessert.
Serve it at celebrations.
Serve it on holidays.
Serve it when you want applause at the table.
Once people taste this Red-Velvet-Oreo-Cheesecake, they will ask for the recipe every time.