
Homemade Strawberry Ice Cream is a creamy, dreamy frozen dessert bursting with the sweet, bright flavor of fresh strawberries. Made with simple ingredients — ripe berries, cream, and a touch of vanilla — it delivers a rich, scoopable texture far superior to anything from the store. Perfect for warm-weather gatherings or whenever a nostalgic, fruit-forward treat is in order.
Whether you’re cooking for a busy weeknight or a relaxed weekend dinner, this Homemade Strawberry Ice Cream delivers every single time. Keep reading for everything you need — ingredients, step-by-step instructions, tips, and the full recipe card below.
Why You’ll Love This Recipe
Ingredients You’ll Need
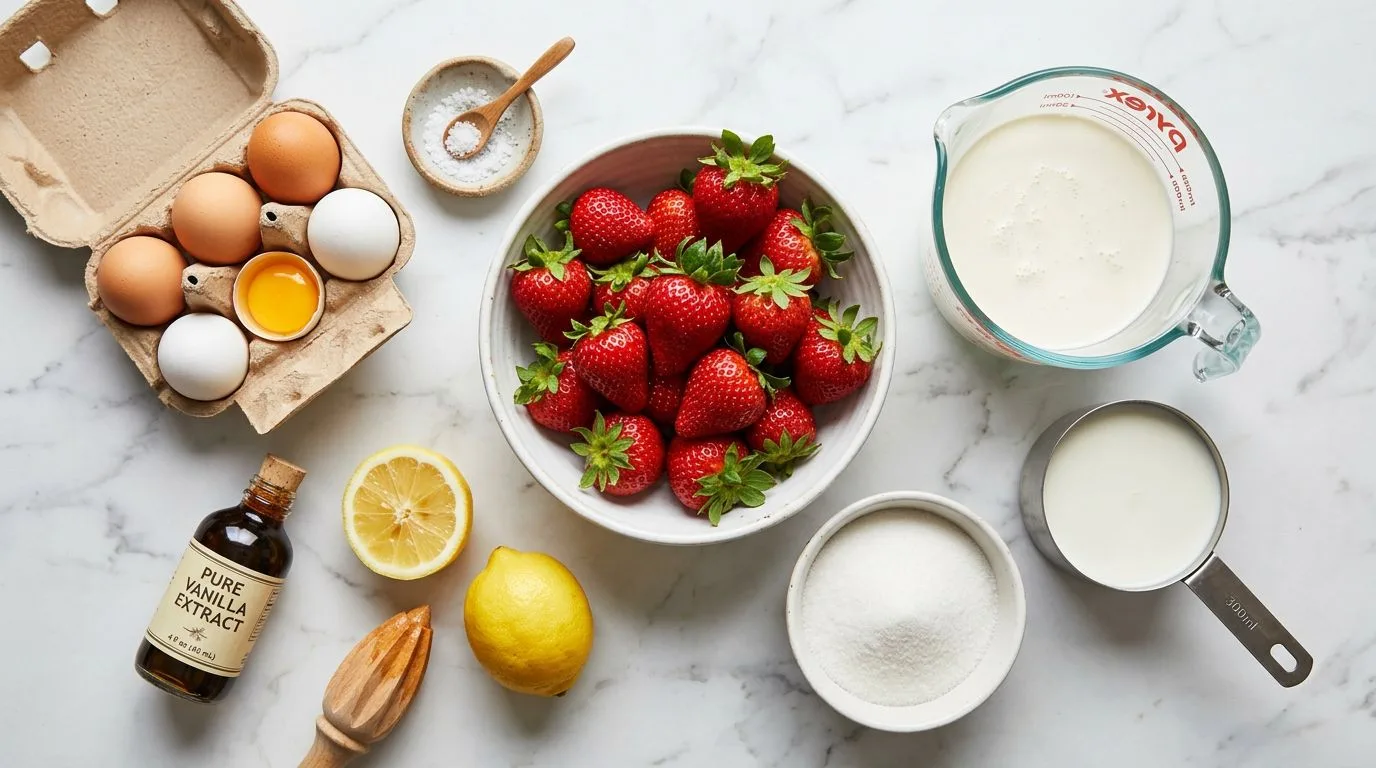
Here is everything you need to make Homemade Strawberry Ice Cream. Full quantities are in the recipe card below.
- For the Strawberry Base:
- 2 cups fresh strawberries, hulled and sliced
- ½ cup granulated sugar, divided
- 1 tbsp fresh lemon juice
- For the Ice Cream Custard:
- 2 cups heavy whipping cream
- 1 cup whole milk
- ¾ cup granulated sugar
- 3 large egg yolks
- 1 tsp pure vanilla extract
- Pinch of salt
Feel free to swap ingredients based on dietary needs or what you have on hand. Most substitutions work well in this recipe without affecting the final result significantly.
Always taste and adjust seasoning at the end — every ingredient varies slightly in intensity.
How to Choose the Best Ingredients
The quality of your ingredients directly impacts the final dish. For Homemade Strawberry Ice Cream, look for the freshest produce available and don’t skip on the key flavoring ingredients — they make all the difference between a good dish and an unforgettable one.
When shopping, prioritize fresh over pre-packaged where possible. Fresh herbs, quality proteins, and ripe produce will elevate the final result considerably compared to their processed or out-of-season alternatives.
How to Make Homemade Strawberry Ice Cream
Follow these steps for perfect results every time. Full details including exact quantities are in the recipe card at the bottom of this post.
-
1
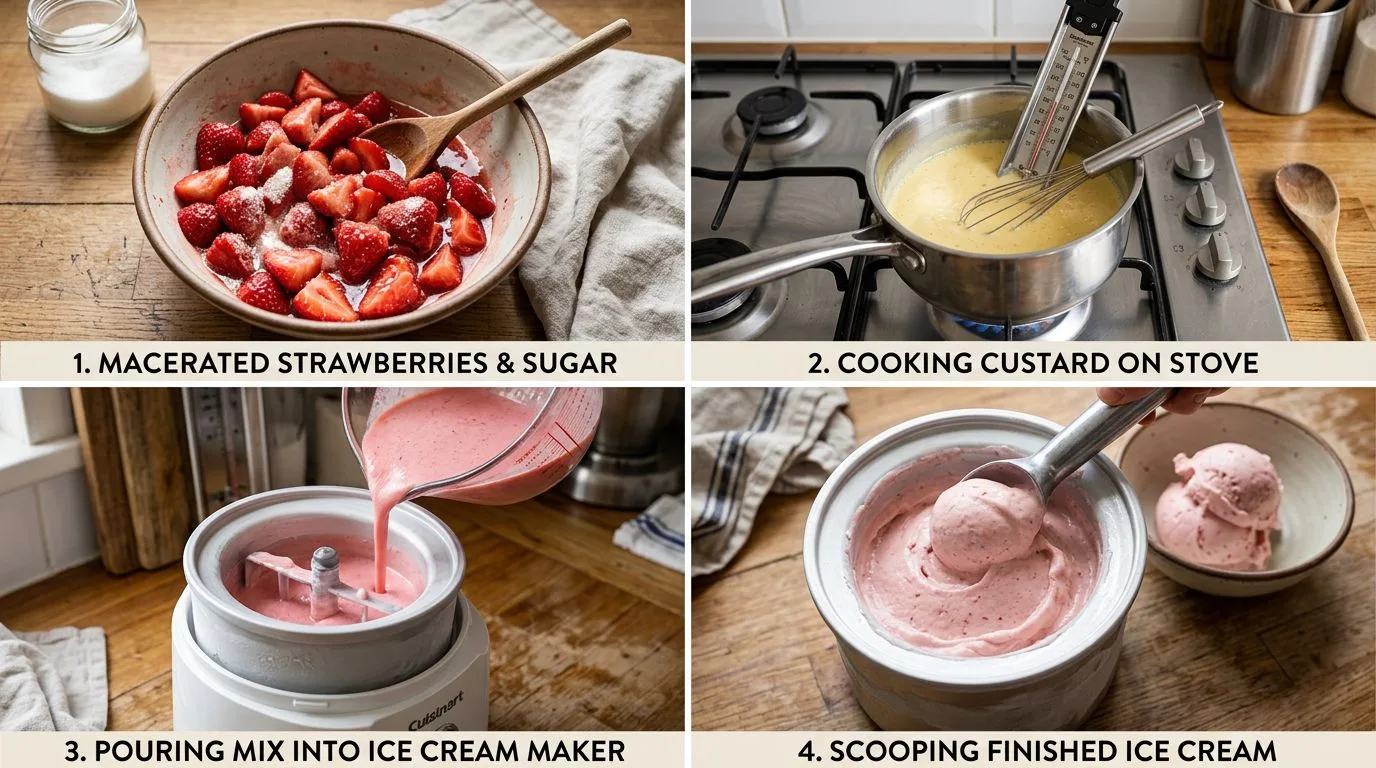
Step 1 — Macerate the Strawberries Toss sliced strawberries with ¼ cup sugar and the lemon juice in a bowl. Stir to combine and let sit for 30 minutes until the berries release their juices and soften.
-
2
Step 2 — Blend the Berry Base Transfer the macerated strawberries and all their juices to a blender. Pulse 4–5 times until you reach a chunky purée (leave some small pieces for texture). Set aside.
-
3
Step 3 — Make the Custard Base In a medium saucepan over medium heat, warm the milk and remaining ¼ cup sugar, stirring until sugar dissolves. In a separate bowl, whisk egg yolks until pale and smooth. Slowly ladle the warm milk into the egg yolks while whisking constantly to temper.
-
4
Step 4 — Cook the Custard Pour the tempered egg mixture back into the saucepan. Cook over medium-low heat, stirring continuously with a wooden spoon, until the custard thickens enough to coat the back of the spoon, about 6–8 minutes. Do not boil.
-
5
Step 5 — Combine and Chill Remove custard from heat. Stir in the heavy cream, vanilla extract, and a pinch of salt. Fold in the strawberry purée until fully incorporated. Cover with plastic wrap pressed directly on the surface and refrigerate for at least 4 hours or overnight.
-
6
Step 6 — Churn the Ice Cream Pour the chilled base into your ice cream maker and churn according to the manufacturer’s instructions, typically 20–25 minutes, until soft-serve consistency.
-
7
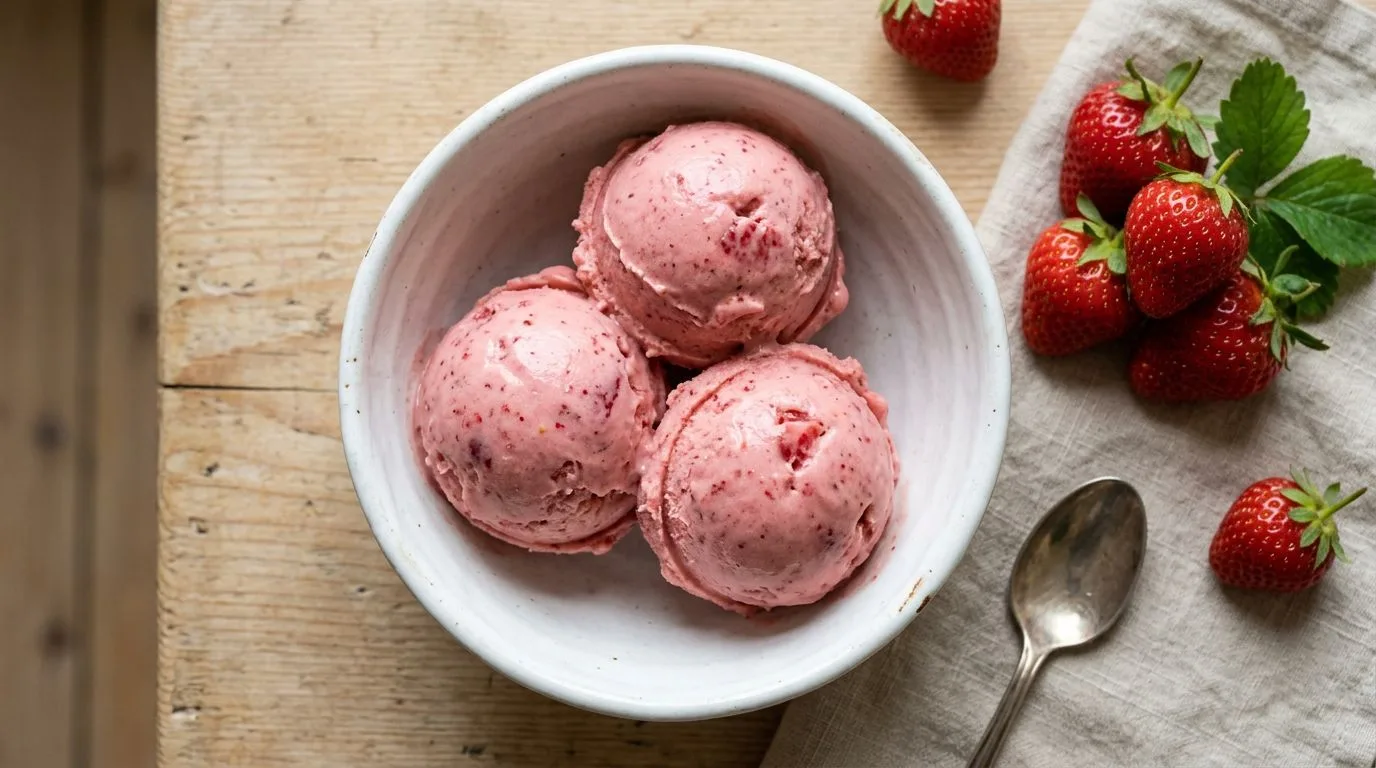
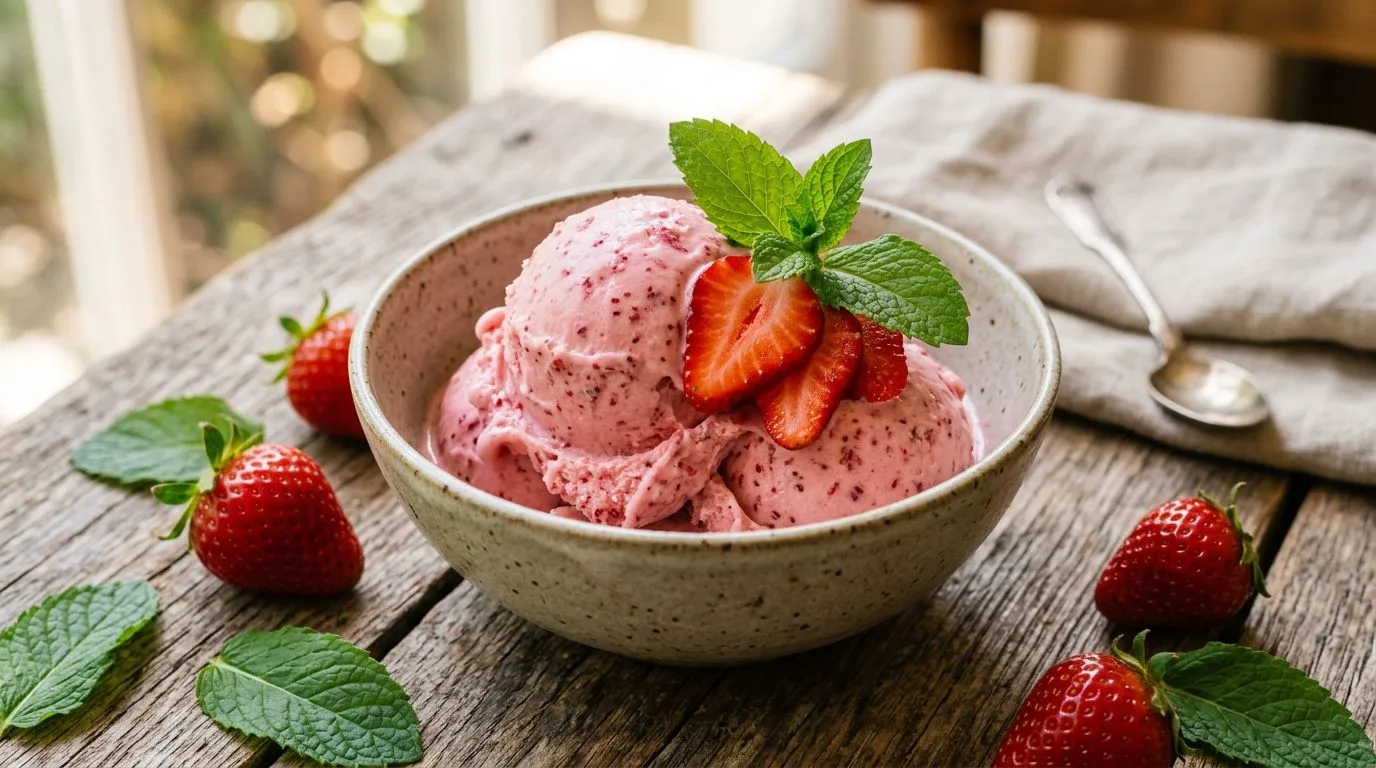
Step 7 — Freeze Until Firm Transfer the churned ice cream to a freezer-safe container. Smooth the top, press parchment paper directly on the surface, seal, and freeze for at least 4 hours until scoopable. Serve with fresh strawberry slices and a sprig of mint.
Read the recipe all the way through before you start — it helps you anticipate each step and have everything prepped and ready.
Don’t rush the cooking time. Patience at each stage builds the depth of flavor that makes this recipe special.
Why This Recipe Works
Every step in this recipe is deliberate. The combination of technique and timing creates layers of flavor that build on each other. The seasoning approach ensures every component is properly seasoned rather than relying on salt at the end. The cooking method locks in moisture while developing the exterior texture that makes this dish so satisfying.
The key is following the steps in order and not rushing any stage. Each element of this recipe was tested to work in harmony with the others — skipping or shortcutting any step will affect the final result.
Best Side Dishes to Serve With Homemade Strawberry Ice Cream
Variations to Try
- Dairy-Free: Substitute any dairy ingredients with high-quality plant-based alternatives.
- Gluten-Free: Use certified gluten-free versions of any sauces or seasonings.
- Spicy Version: Add red pepper flakes or a dash of hot sauce to taste.
- Make-Ahead: Prepare components up to 24 hours ahead and assemble before serving.
- Slow Cooker: Adapt for the slow cooker — cook on LOW for 6–8 hours for even deeper flavor.
Storage, Meal Prep & Reheating
Storing Leftovers
Store leftovers in an airtight container in the refrigerator for up to 4 days. The flavors often deepen overnight making leftovers just as satisfying as the fresh dish.
Freezing
This recipe freezes well for up to 3 months. Cool completely before transferring to freezer-safe containers. Thaw overnight in the refrigerator before reheating.
Reheating
Reheat gently on the stovetop over medium-low heat or in the microwave covered with a damp paper towel. Add a splash of water or broth if needed to restore moisture. Avoid overheating — gentle and slow preserves the texture best.
Common Mistakes to Avoid
- Skipping the prep work. Having everything measured and ready before you start makes the cooking process smooth and prevents overcooking while you search for ingredients.
- Rushing the cooking time. Each step has a purpose. Trust the timing and resist the urge to speed things up.
- Not tasting as you go. Adjust seasoning at every stage — waiting until the end means you’ve missed multiple opportunities to build flavor.
- Overcrowding the pan. Cook in batches if needed. Overcrowding creates steam rather than the browning and caramelization that builds flavor.
Nutritional Information
Per serving (based on 4 servings):
Nutritional values are estimates and will vary based on specific ingredients and portion sizes used.
Serving & Presentation Tips
- Garnish at the last moment. Fresh herbs and finishing elements go on right before serving for maximum visual impact and freshness.
- Warm your serving dishes. A warm plate keeps the food at the right temperature longer — simply run hot water over the plate for 30 seconds and dry before plating.
- Less is more. Clean, intentional plating always looks more impressive than an overcrowded plate.
Frequently Asked Questions
Can I make Homemade Strawberry Ice Cream ahead of time?
Yes — this dish actually benefits from being made ahead as the flavors have time to meld and deepen. Prepare up to 24 hours ahead, refrigerate, and reheat gently before serving.
Can I freeze Homemade Strawberry Ice Cream?
Absolutely. Cool completely, transfer to freezer-safe containers, and freeze for up to 3 months. Thaw overnight in the refrigerator and reheat gently on the stovetop.
Is Homemade Strawberry Ice Cream gluten-free?
It can be made gluten-free with simple substitutions — use certified gluten-free versions of any sauces or seasonings called for in the recipe.
How many servings does this recipe make?
This recipe makes 4 generous servings. It scales easily — simply double or halve the ingredients proportionally.
You Might Also Love
Final Thoughts
This Homemade Strawberry Ice Cream has become a go-to for good reason — it delivers on every level. The flavor is deep and satisfying, the technique is straightforward, and the results are consistently impressive whether you’re cooking for yourself on a Tuesday or feeding a table full of people on a weekend.
Once you’ve made it the first time, you’ll understand exactly why it works so well. The combination of well-seasoned ingredients, proper technique, and a little patience produces something genuinely greater than the sum of its parts.
Make it this week and let us know how it turned out — leave a comment below and tell us what you served alongside. We read every single one. 🍽️
Homemade Strawberry Ice Cream
Homemade Strawberry Ice Cream is a creamy, dreamy frozen dessert bursting with the sweet, bright flavor of fresh strawberries. Made with simple ingredients — ripe berries, cream, and a touch of vanilla — it delivers a rich, scoopable texture far superior to anything from the store. Perfect for warm-weather gatherings or whenever a nostalgic, fruit-forward treat is in order.
Ingredients
- For the Strawberry Base:
- 2 cups fresh strawberries, hulled and sliced
- ½ cup granulated sugar, divided
- 1 tbsp fresh lemon juice
- For the Ice Cream Custard:
- 2 cups heavy whipping cream
- 1 cup whole milk
- ¾ cup granulated sugar
- 3 large egg yolks
- 1 tsp pure vanilla extract
- Pinch of salt
Instructions
-
1
Step 1 — Macerate the Strawberries Toss sliced strawberries with ¼ cup sugar and the lemon juice in a bowl. Stir to combine and let sit for 30 minutes until the berries release their juices and soften.
-
2
Step 2 — Blend the Berry Base Transfer the macerated strawberries and all their juices to a blender. Pulse 4–5 times until you reach a chunky purée (leave some small pieces for texture). Set aside.
-
3
Step 3 — Make the Custard Base In a medium saucepan over medium heat, warm the milk and remaining ¼ cup sugar, stirring until sugar dissolves. In a separate bowl, whisk egg yolks until pale and smooth. Slowly ladle the warm milk into the egg yolks while whisking constantly to temper.
-
4
Step 4 — Cook the Custard Pour the tempered egg mixture back into the saucepan. Cook over medium-low heat, stirring continuously with a wooden spoon, until the custard thickens enough to coat the back of the spoon, about 6–8 minutes. Do not boil.
-
5
Step 5 — Combine and Chill Remove custard from heat. Stir in the heavy cream, vanilla extract, and a pinch of salt. Fold in the strawberry purée until fully incorporated. Cover with plastic wrap pressed directly on the surface and refrigerate for at least 4 hours or overnight.
-
6
Step 6 — Churn the Ice Cream Pour the chilled base into your ice cream maker and churn according to the manufacturer’s instructions, typically 20–25 minutes, until soft-serve consistency.
-
7
Step 7 — Freeze Until Firm Transfer the churned ice cream to a freezer-safe container. Smooth the top, press parchment paper directly on the surface, seal, and freeze for at least 4 hours until scoopable. Serve with fresh strawberry slices and a sprig of mint.
Read the full recipe before you start. Having everything prepped and ready makes the process smooth and the result consistent.
Taste and adjust seasoning at every stage — this is the single most important habit you can develop as a cook.
